


Dstratt01
10+ Year Contributor
- 42
- 0
- Sep 1, 2012
-
New Haven,
Indiana
Bought the car a while ago but it was put on the backburner due to another project I had in the works. Now it is my priority and gets all the money I can budget for it haha. So the plan is to do the Stage 1 upgrade path to put it around 300hp + some other goodies.
I bought the car non-running last year for $500 just to help out a friend who needed cash to move. So it sat for about 6 months outside my house before I decided to give it a shot. 101,000 miles, auto tranny, leather int. I got the car running after new plugs, wires, battery, alternator, wheels, tires, and all new fluids. Still didnt run quite right though. Boost leak test found a HUGE leak. Fixed that and now it runs pretty well. Starting off the build with the free path to make sure it gets its full potential before modding. So far I have almost finished the free path and am starting the stage 1 path.
Purchases/ installs so far
Pacesetter header
Carbon-ceramic brakes
DNA front strut bar
Megan 3 Down Pipe
SRS 3 Catback
Megan ported O2 housing
14b turbo swap
turboworks j-pipe and install kit
Megan rear strut bar
Triple Pillar Pod w/Boost gauge, Volt gauge, Oil pressure gauge
manual boost controller
Injen Intake w/ K&N filter + adapter
Prothane poly bushing kit for entire suspension
Engine bay is torn down for the 14b swap. After the 14b swap is done I will be redoing the vacuum lines for the boost gauge, mbc, injen intake, 14b lines, and redo the bov setup (its kinda rigged). Goal for the build is a hard launching automatic, 300hp roughly, and can hold a corner pretty well. Weight reduction has already started but has a long way to go. Bumpers are being removed, air conditioning is about halfway removed, interior is next. I will be stripping the rear seats and belt assemblies, then eventually replace the fronts with 5 point racing seats. Ive been researching the auto tranny mods and will be going with a different torque converter for starters. The suspension components will keep getting modded after the first round of testing. Strut bars are installed, prothanes are going in next.
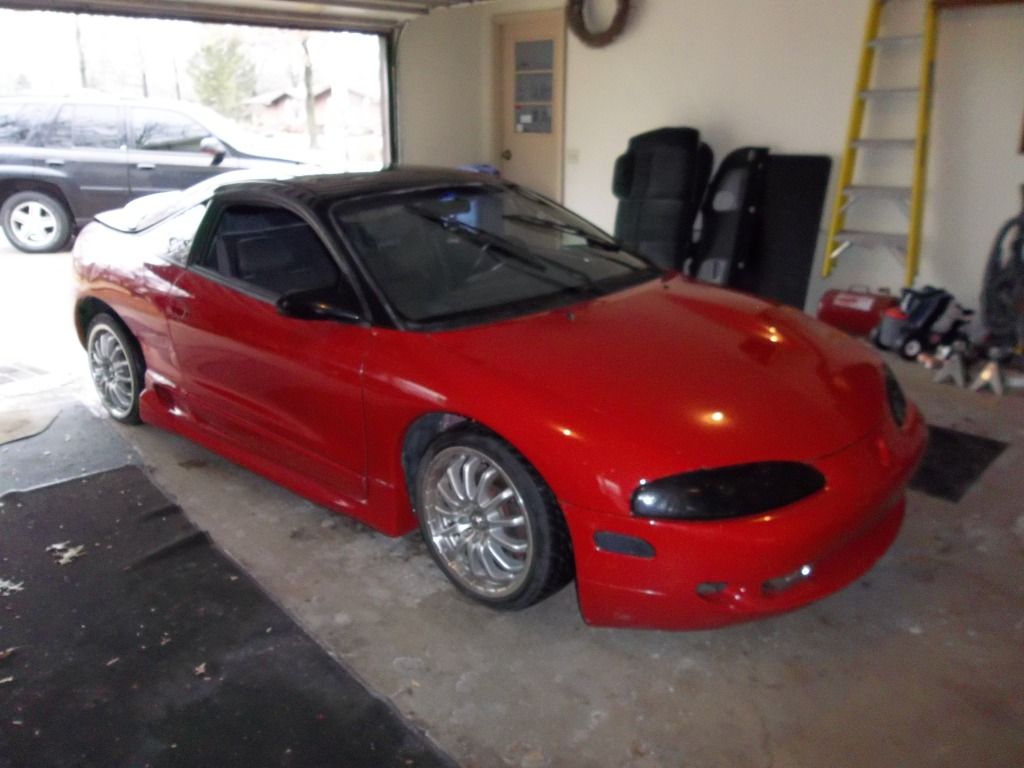
First day in the garage for starting maintenance
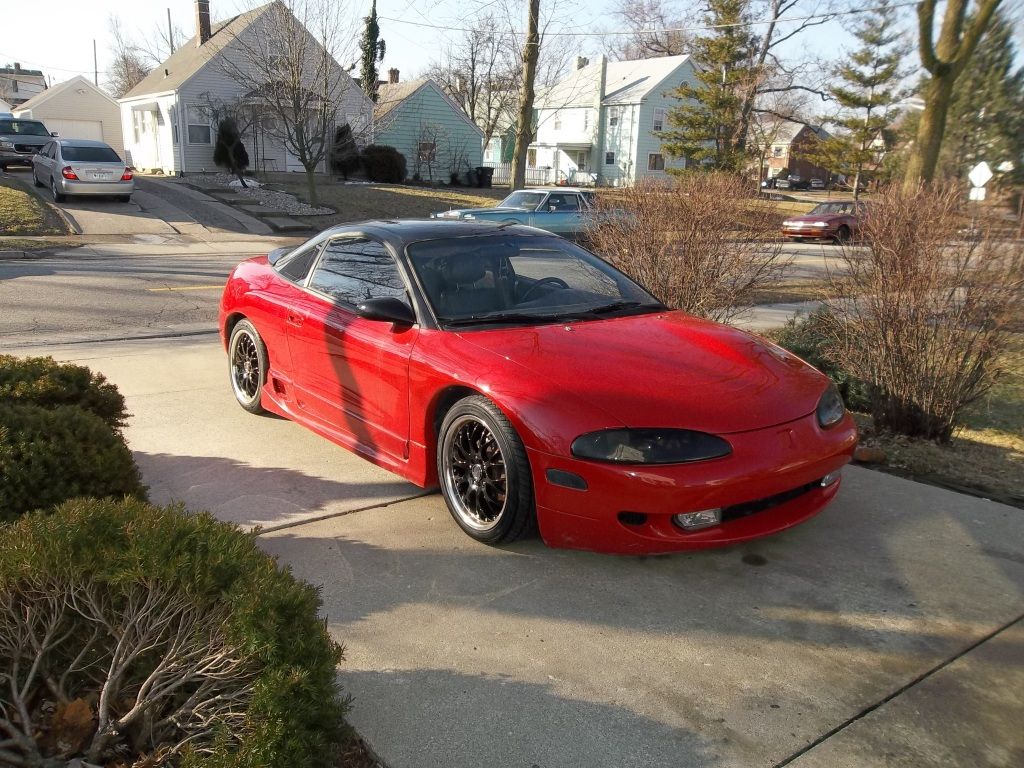
After the new wheels and tires
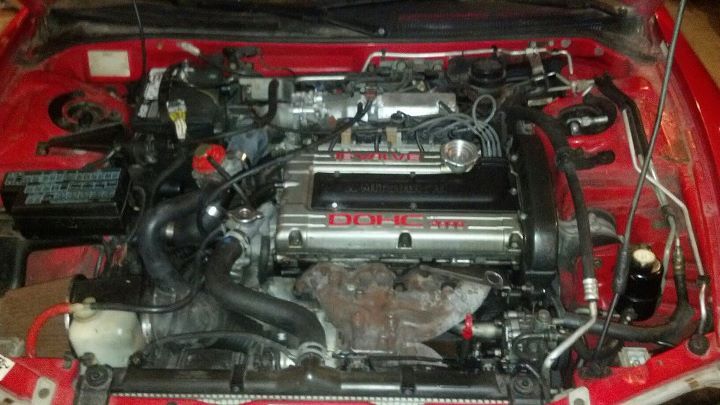
After the first cleaning of the engine bay
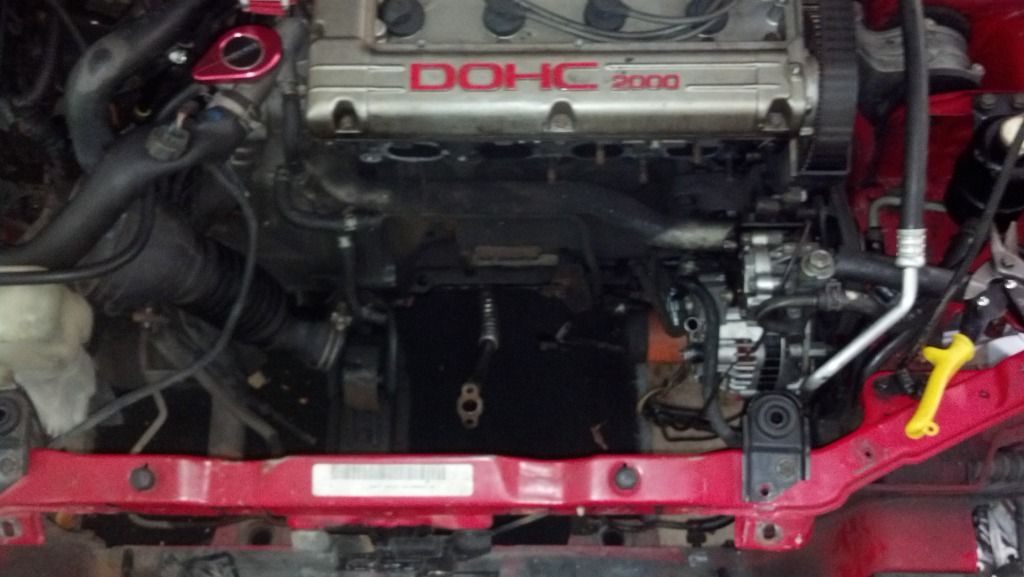
Tear-down for the 14b swap and air conditioning removal
First round of goodies. 14b, prothane kit, triple pilar pods, pacesetter, srs catback, megan downpipe.
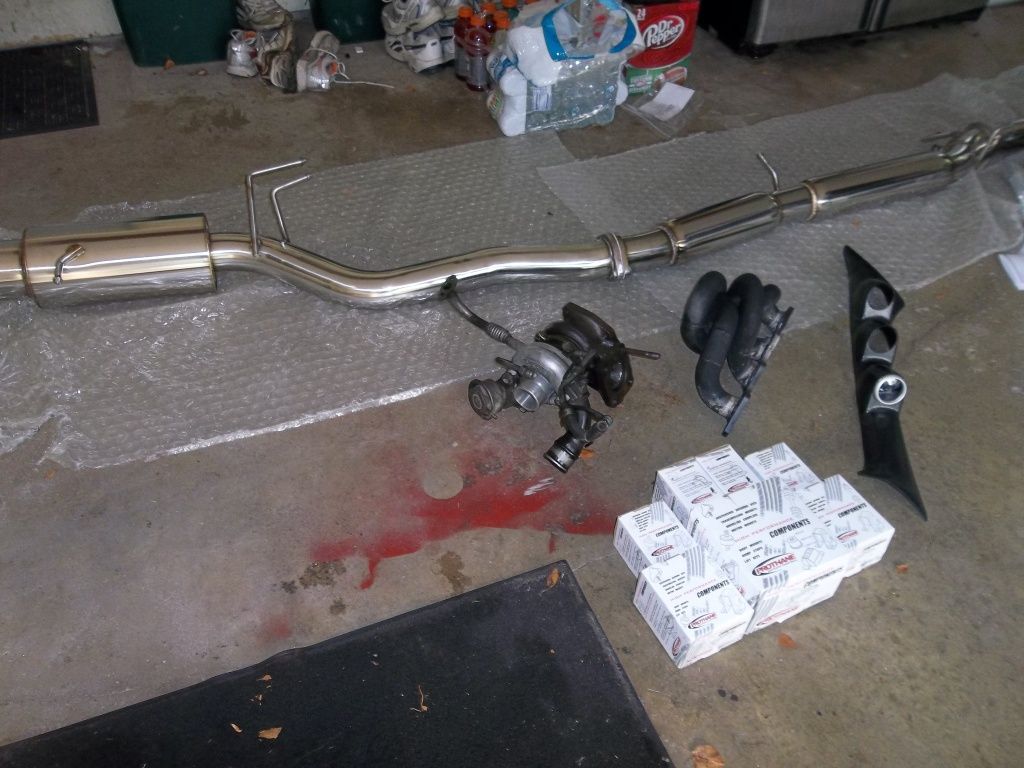
still waiting on the 14b j-pipe and install kit, Injen intake, and need to find a new exhaust housing for the 14b, mine is cracked beyond repair.
Gonna start redoing the vacuum lines before installing parts so that I have some extra room in the engine bay.
Did find that Im having an issue with the pacesetter header. That was one of the first things I installed. After the first round of exhaust leaks (I thought it was due to the crappy gaskets they sent with it) I put new fel-pros in it and they lasted about as long as the crappy gaskets did. Heres a pic of the aftermath.
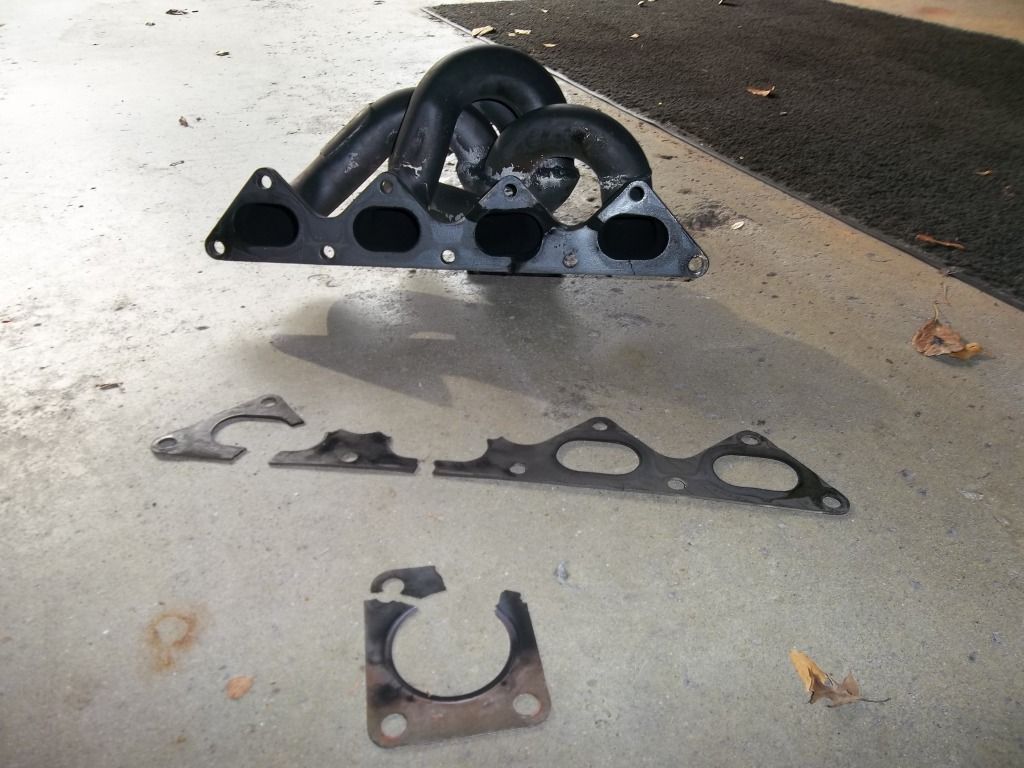
Anyone else having problems with their gaskets blowing out? Or is this something I am just over thinking?
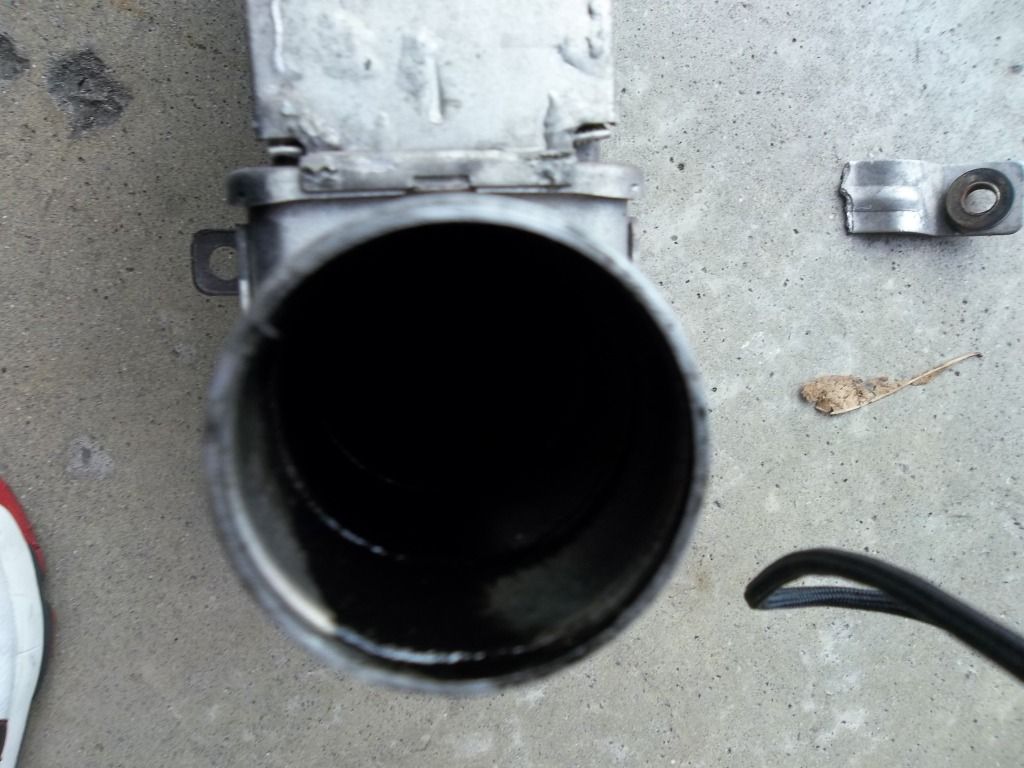
I cleaned out the intercooler with some gasoline. It helped immensely.
Before:
After:
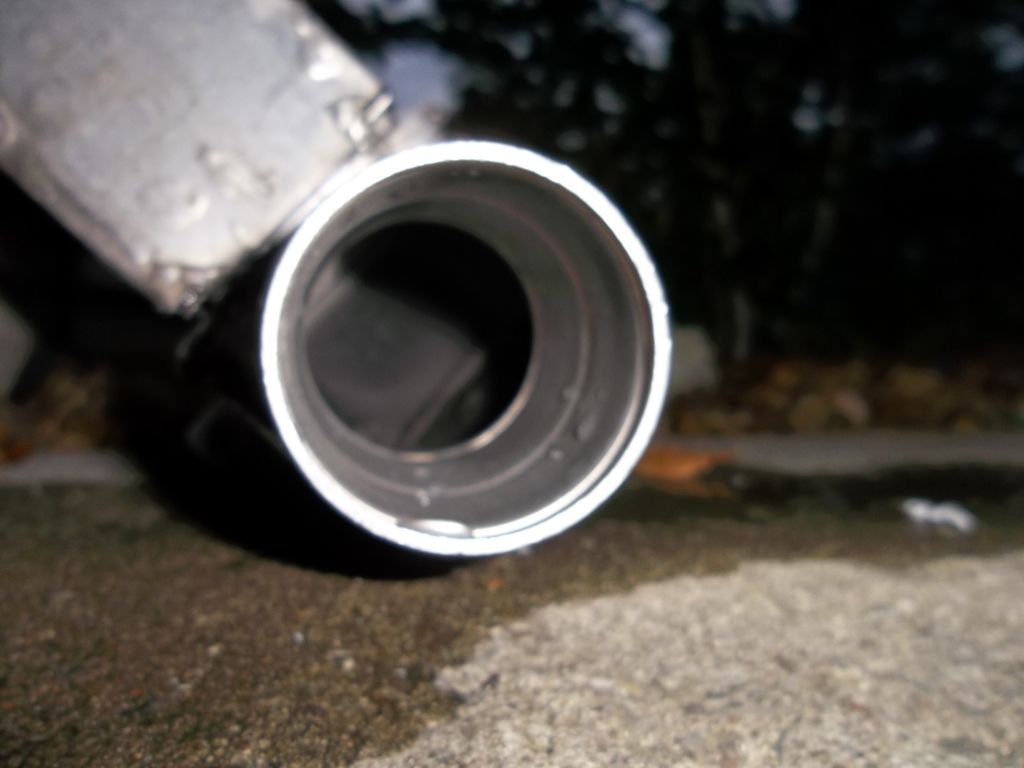
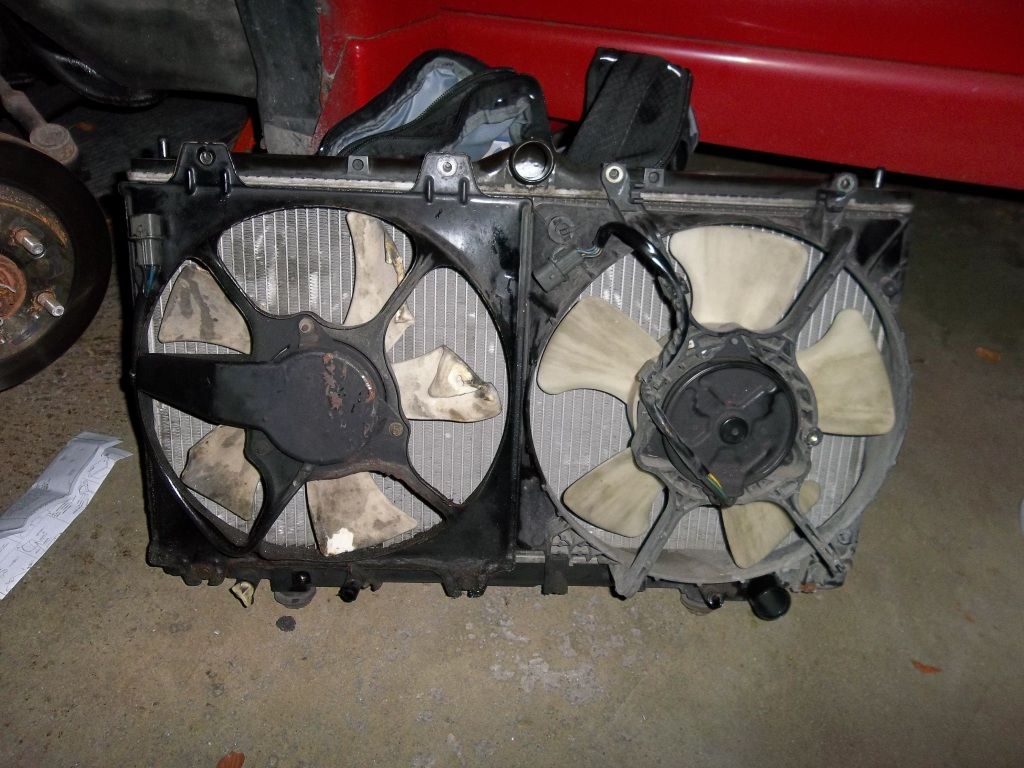
Plus I found that the fan blades had been melted from the turbo. Im gonna do some slim fans to keep them a little further away from the turbo.
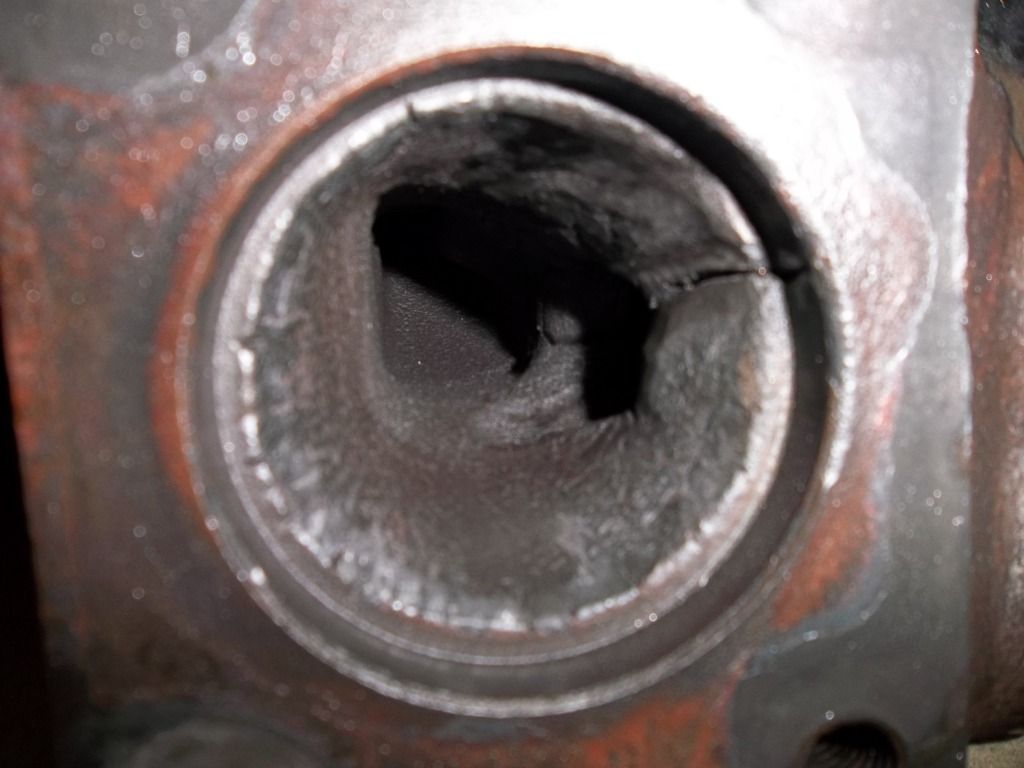
Here's the cracks in the 14b housing as to why I had to ditch it. It had about 5 more deep ones in the wastegate side and a few more surface cracks on the outside of the housing.
I bought the car non-running last year for $500 just to help out a friend who needed cash to move. So it sat for about 6 months outside my house before I decided to give it a shot. 101,000 miles, auto tranny, leather int. I got the car running after new plugs, wires, battery, alternator, wheels, tires, and all new fluids. Still didnt run quite right though. Boost leak test found a HUGE leak. Fixed that and now it runs pretty well. Starting off the build with the free path to make sure it gets its full potential before modding. So far I have almost finished the free path and am starting the stage 1 path.
Purchases/ installs so far
Pacesetter header
Carbon-ceramic brakes
DNA front strut bar
Megan 3 Down Pipe
SRS 3 Catback
Megan ported O2 housing
14b turbo swap
turboworks j-pipe and install kit
Megan rear strut bar
Triple Pillar Pod w/Boost gauge, Volt gauge, Oil pressure gauge
manual boost controller
Injen Intake w/ K&N filter + adapter
Prothane poly bushing kit for entire suspension
Engine bay is torn down for the 14b swap. After the 14b swap is done I will be redoing the vacuum lines for the boost gauge, mbc, injen intake, 14b lines, and redo the bov setup (its kinda rigged). Goal for the build is a hard launching automatic, 300hp roughly, and can hold a corner pretty well. Weight reduction has already started but has a long way to go. Bumpers are being removed, air conditioning is about halfway removed, interior is next. I will be stripping the rear seats and belt assemblies, then eventually replace the fronts with 5 point racing seats. Ive been researching the auto tranny mods and will be going with a different torque converter for starters. The suspension components will keep getting modded after the first round of testing. Strut bars are installed, prothanes are going in next.
First day in the garage for starting maintenance
After the new wheels and tires
After the first cleaning of the engine bay
Tear-down for the 14b swap and air conditioning removal
First round of goodies. 14b, prothane kit, triple pilar pods, pacesetter, srs catback, megan downpipe.
still waiting on the 14b j-pipe and install kit, Injen intake, and need to find a new exhaust housing for the 14b, mine is cracked beyond repair.
Gonna start redoing the vacuum lines before installing parts so that I have some extra room in the engine bay.
Did find that Im having an issue with the pacesetter header. That was one of the first things I installed. After the first round of exhaust leaks (I thought it was due to the crappy gaskets they sent with it) I put new fel-pros in it and they lasted about as long as the crappy gaskets did. Heres a pic of the aftermath.
Anyone else having problems with their gaskets blowing out? Or is this something I am just over thinking?
I cleaned out the intercooler with some gasoline. It helped immensely.
Before:
After:
Plus I found that the fan blades had been melted from the turbo. Im gonna do some slim fans to keep them a little further away from the turbo.
Here's the cracks in the 14b housing as to why I had to ditch it. It had about 5 more deep ones in the wastegate side and a few more surface cracks on the outside of the housing.

















