The Top DSM Community on the Web

For 1990-1999 Mitsubishi Eclipse, Eagle Talon, Plymouth Laser, and Galant VR-4 Owners. Log in to remove most ads.

Please Support Rix Racing
Please Support STM Tuned

Spyder Spyder roof leak fix! Simple 10 step process

This site may earn a commission from merchant
affiliate links, including eBay, Amazon, and others.

This site may earn a commission from merchant affiliate links, including eBay, Amazon, and others.

This is for SEVERE spyder leaking problems..i literally had a half a gallon of rain in my car after each rainy day so i was forced to come up with a solution... if you haven't searched, you may want to look at previous solutions which involve tightening the roof clamps or replacing the weather stripping.... if you've done this already and need further assistance...continue!!

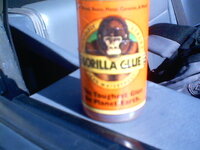
Materials: Gorilla Glue, 1/4" or 1/2" thick foam piping insulation (home depot), spray paint which matches your top, x-acto knife (or a regular sharp knife), scotch guard, tape, paper towels, and gloves (latex)

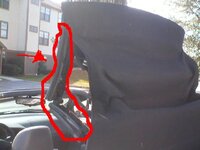
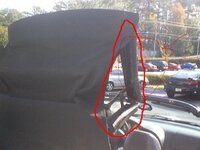
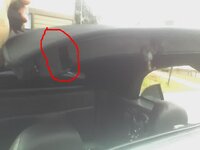
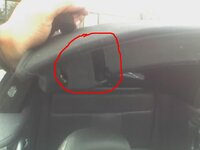
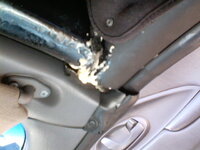
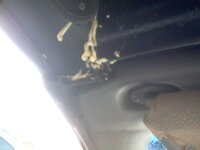
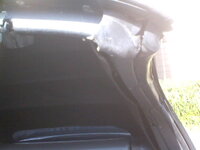
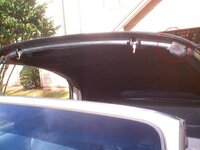
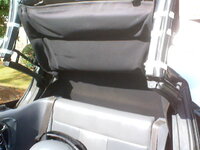
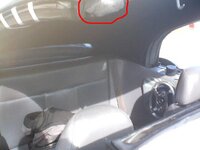
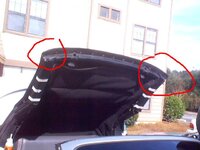
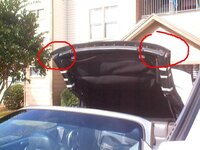
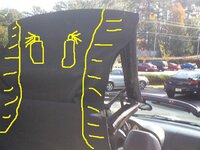
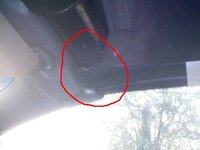
First issue i had was finding where the leak was coming from. many know that it comes from the top 2 corners where the roof meets the windshield...but going even further than that, it takes an "underground" approach to reach that spot...(for me) the rain would get built up in the rails of the roof and work its way to an open gap which is at the end of the rail...why is it like this? ask Mitsubishi LOL
 

Attachments

  • 1 wats leakin2.JPG
    1 wats leakin2.JPG
    36.6 KB · Views: 2,853
  • 2 whats leakin.JPG
    2 whats leakin.JPG
    41.1 KB · Views: 2,722
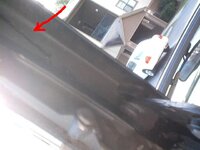
see the rails? notice how there is a big inch and a half gap for no reason? now see the water?
 

Attachments

  • 3 whats leakin h2o.JPG
    3 whats leakin h2o.JPG
    32.1 KB · Views: 2,684
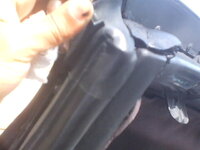
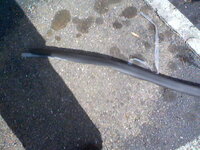
well the 1st fix i did was peal off the weather strippiing. mine literally had no glue or support or anything. it was just slapped on there and this allowed water to run rampid down the inner seam...peal yours off, line it with Gorilla Glue and allow it to sit...you may need to put your windows up so that there will be pressure to hold the stripping up while the glue is drying.

NOTE** Gorilla Glue works well because it doesnt just dry, it expands!! so why sillicone may look good, what ever is there is there and if your cant fill a gap then thats it. with this glue you can put a little down and it will expand (like yeast) and fill all sorts of holes you usually wouldnt be able to reach! so dont go overboard with the glue, use what you think is enough, let it expand, and edit the leftover glue later...
NOTE** Gorilla Glue is reallllll sticky! please use gloves when working with it bacuse it will be on your hands for DAYS! i found this out the hard way a while back when i had the glue and paint (the paint was trapped under the glue) on my hands for a whole 3 days until i used bleach and some brillo (wont come off clothes either)
 

Attachments

  • 4 peal off.JPG
    4 peal off.JPG
    32.1 KB · Views: 2,568
  • 5 g glue.JPG
    5 g glue.JPG
    48.1 KB · Views: 2,453
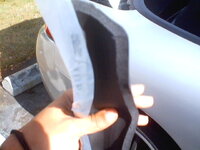
next step is using the foam pipe insulation to seal off water "hot spots". i used this material because it was able to be smashed down, but would rise back to its origional form. its also black and my roof is black too! i found it in home depot it was like 5 feet long and around 1/4" or 1/2" thick. it had 2 sticky ends on it so i guess you could stick them together around a hot water pipe...
 

Attachments

  • 7 foam 2.JPG
    7 foam 2.JPG
    42.6 KB · Views: 2,570
  • 6 foam 1.JPG
    6 foam 1.JPG
    49.1 KB · Views: 2,509
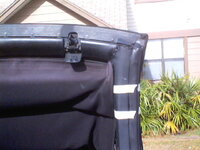
the rails lead to these open gaps which is where the water would leak from the 2 top corners..lets patch these bad boys up!!!
 

Attachments

  • 8 before leak1.jpg
    8 before leak1.jpg
    16.1 KB · Views: 2,441
  • 9 before leak2.jpg
    9 before leak2.jpg
    15.2 KB · Views: 2,440
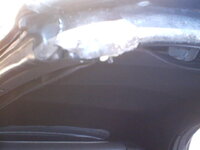
cut out pieces from the foam (or tear them) that fit across the gaps you see that come from the rail...i 1st cut small rectangle shaped pieces to fill the holes in the pictures about...and then i made the larger pieces that fit across the whole front..just glue these down for now and dont worry about trying to make it look nice. you can fix this much easier after the glue dries...see mine?

NOTE** see how the glue also expanded?
 

Attachments

  • 13 glue pass.JPG
    13 glue pass.JPG
    43.1 KB · Views: 2,500
  • 12 glue drive.JPG
    12 glue drive.JPG
    27.6 KB · Views: 2,472
  • 11 patched pass.JPG
    11 patched pass.JPG
    30.1 KB · Views: 2,564
  • 10 patched driver.JPG
    10 patched driver.JPG
    32.1 KB · Views: 2,505
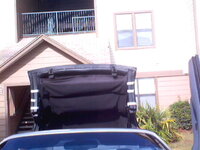
a look from afar
 

Attachments

  • 14 far both patched.JPG
    14 far both patched.JPG
    38.2 KB · Views: 2,326
now its time to fill in those pesky rails!!! cut out a piece from the foam which will fill the whole rail and get ready to glue it down. the reason i filled the rails is because when all i had done was patch the holes (in the step above) the rain stopped entering the car, but when i put the top down the next day rain was all in the rails.. and well, after opening it, in my car LOL

NOTE**notice i had to cut a space for the mechanical arm which is in the rail..no big deal, just cut a line for the metal bar to go in
 

Attachments

  • 15 patched leakin.JPG
    15 patched leakin.JPG
    48.1 KB · Views: 2,285
glue them down and tape them up!! watch for glue that drips...wait a little while for the glue to start to settle before you start to put the top down. you have to make sure no glue gets in the joints and also that it wont stick to the cloth roof.

NOTE** you may/will need some tape to hold the pieces in place while they dry...put the tape where ever you feel the foam isnt contacting with a surface
 

Attachments

  • 16 tape em up.JPG
    16 tape em up.JPG
    41.9 KB · Views: 2,231
while thats drying, you can go back and edit the raggedy edge pieces of foam which you used to patch the 2 corner holes where the top meets the windshield...if you waited long enough, the glue should also have expanded and hardened and can be chipped off and disposed of...

NOTE** glue drying time is listed on the bottle and also depends on the temp of your work environment...it usually took within 4 hours for my glue to dry

if your glue is dry, you may also paint the foam/dried glue which remains so that you wont have yellow glue showing!!
 

Attachments

  • 17 closeup of xacto.JPG
    17 closeup of xacto.JPG
    27.1 KB · Views: 2,179
  • 18 after xacto.JPG
    18 after xacto.JPG
    46.5 KB · Views: 2,064
after edging my pieces up and painting them
 

Attachments

  • 21 both after xacto n paint3.JPG
    21 both after xacto n paint3.JPG
    38.8 KB · Views: 2,068
  • 20 both after xacto paint2.JPG
    20 both after xacto paint2.JPG
    48.6 KB · Views: 2,168
  • 19 both after xacto n paint.JPG
    19 both after xacto n paint.JPG
    48.1 KB · Views: 2,159
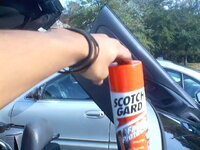
time to scotch guard!!! concentrate on the areas right over the rails, but you should still spray the whole roof!!

NOTE** can of scotch guard says not to over-spray because your fabric may (basically shrink and become stiff) so dont over-spray!!
 

Attachments

  • 22 sguard.JPG
    22 sguard.JPG
    48.3 KB · Views: 2,086
  • 23 whats leakin spray.JPG
    23 whats leakin spray.JPG
    48.9 KB · Views: 2,051
happy driving!!!

P.M. me with any questions..!!
 

Attachments

  • 25 last pic.JPG
    25 last pic.JPG
    48.4 KB · Views: 1,981
Support Vendors who Support the DSM Community
Boosted Fabrication ECM Tuning ExtremePSI Fuel Injector Clinic Innovation Products Jacks Transmissions JNZ Tuning Kiggly Racing Morrison Fabrications MyMitsubishiStore.com RixRacing RockAuto RTM Racing STM Tuned

Latest posts

Build Thread Updates

Vendor Updates

Latest Classifieds

Back
Top