spoolinpos
15+ Year Contributor
- 199
- 343
- Feb 13, 2008
-
Fraser,
Michigan
spoolinpos submitted a new DSM Profile :
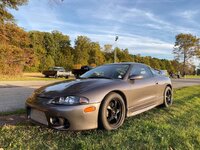
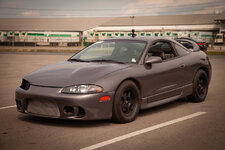
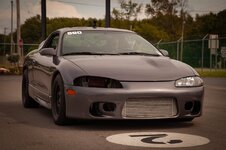
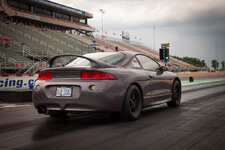
1998 auto GSX
Read more about this vehicle here...
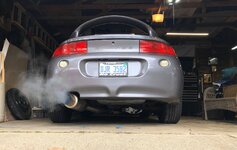
My Instagram has a decent amount of photos of upgrades I have done to the car:
https://www.instagram.com/clucido/
1998 auto GSX
Read more about this vehicle here...
My Instagram has a decent amount of photos of upgrades I have done to the car:
https://www.instagram.com/clucido/
Last edited:

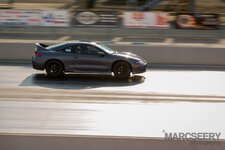
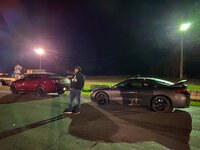
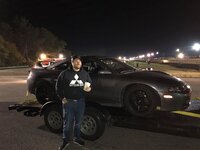
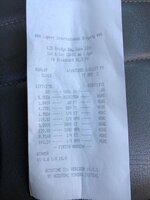
 . Won a couple bucks, can't wait to get out to some of these during the summer, they get super packed I was told.