- Thread starter
- #26
Atuca
Supporting Member
- 1,140
- 292
- Jan 6, 2007
-
Central Valley,
California
Stoked to be Stroked! Part 4
Part 4 of the G4CS swap process.
Transmission Problems - January 18, 2010
Well with news my engine is going to be done this week from the machine shop, I had to start spending some cold nights out in the garage.
I started working on my transmission and shifting assembly. I started by jb welding the roller skate bearings together. I went ahead and did all 8 and figure I will either sell them or have them laying around as a DSM gift to a DSM buddy who helps me out
 (should have thought of little gifts like that as stocking stuffers)

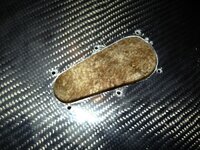
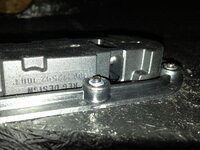
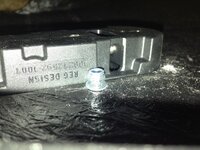
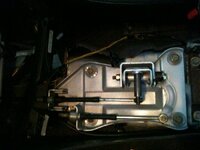
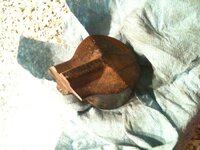
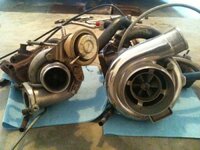
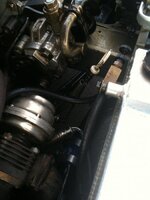
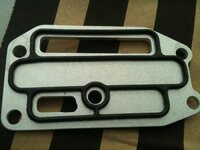
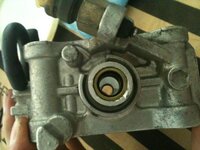
Now I remember when I pulled my transmission off seeing small scratches in the bell housing. Well I figured since I was trying to put my transmission back on with the engine still in the car during my clutch swap, I am 100% sure I scratched it some trying to force it on there from under the car. But last night as I tried to start cleaning up the transmission, I noticed some of the black grime wasn't just dirt.
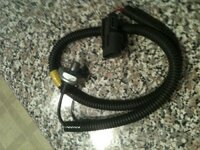
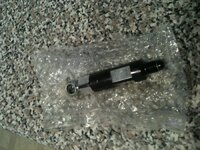
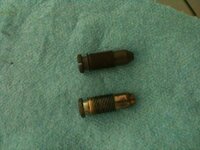
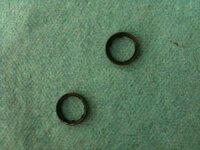
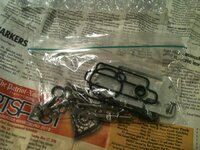
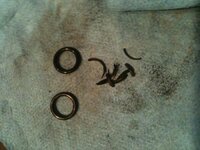
It looks like part of the retaining clip/washer holder/throw out bearing assembly was completely destroyed. The washer behind the throw out bearing was also damaged, it has huge gashes in it probably from little chunks of metal being stuck there. I wonder if that has anything to do with my clutch never feeling the same as the first week I drove it, and being squishy. I don't think I caused any permanent damage, but it is hard to imagine the only thing that happened were a few scratches; I am sure it could have been alot worse. If anyone knows that the part numbers for any of these pieces or what they are called, please let me know.
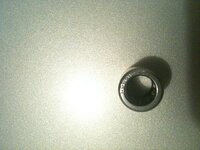
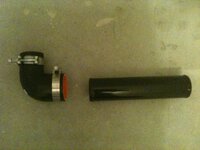
Besides that, I discovered the bearing in my ebay short shifter crapped out on me. I don't know how, and I don't know why, but I don't think it is fixable and will probably end up having to buy another one. Just one more thing that is going to cost me money

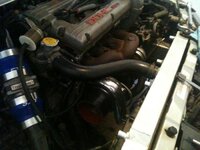
G4CS Machined! - January 22, 2010
Well sooner than expected, the engine has been machined!!!
Rob's Machine Shop out in Hayward California pulled a fast one for me, having the block done in a little over 5 days. (two of which were weekend) Very satified with their work.
My crank only needed a polish, which was nice!
Block and head were both decked for the Cometic HG.
Had it line honed with the girdle, bored with a torque plate, and the flux core prove everything was in working order! Even the head's valves were all seated properly already! I will lap them for good measure because I'm putting new springs in anyways, but this is all great great news!
G4CS Short Block Assembly - January 24, 2010
While I had to wait for a friend with the tools to work on the pistons rings, I contemplated what I could work on. So I just began preparing the block.
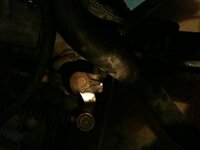
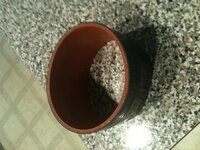
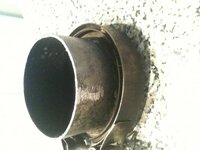
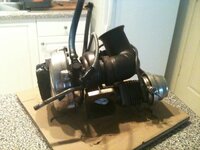
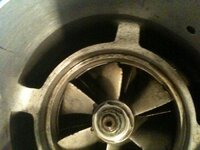
First off I tried to get working on the Balance Shafts. The bearings are stuck in the block and I tried to get them out. I was told to use a 32mm socket, but when I used mine it was too small, it just barely fit through the bearing. I don't have any other ideas how I am gonna get it out of there, I am open to ideas folks..
So than I started working on installing the crank. Just to document, for my sake, the oil clearences for the crank, I decided to use some plastic gauge on the crank.
DO NOT PUT LUBE ON THE BACK OF THE BEARINGS!!! I SPENT THE FOLLOWING NIGHT REDOING MY CRANK BECAUSE OF THIS!!
I liberally applied red line assembly lube on the crank and mains and pressed in the standard bore ACL race bearings. Grooved bearings go into the block, non grooved go into the caps, and the bearing with the raised flanges went on bearing no. 3, or the middle one.
Once those were put in, I drop the crank in WITHOUT lube, just a small piece of plastic gauge, than put on the caps. I tightened down the ARP main studs in the order the Factory Service Manual called for in 3 increments, 30 lbs, 45 lbs, and 60 lbs.
I than detorqued the arps nuts in a similar fashion and checked my results...
Perfect!!!ish!! .002 on all 5, with maybe one or two at .00175. On the tight side, but I think that will work for me.
I than cleaned off all of the plastic gauge and than pulled the crank out. I lubed up the crank, the bearings, spun the crank and lubbed some more. I put the main caps back on with more lubs and made sure they were all level.
I than tightened everything in the same three torqueing steps: 30 lbs, 45lbs, and 60 lbs. 60 lbs is what the ARP main called for in their instructions, I just followed the Factory Service manual in the order in which to tighten.
Once everything was together, I spun the crank for the first time with it all together, and like it was supposed to, it spun freely!
And tonight, I hope to finish up prepping the block for a fresh coat of paint, and hopefully a solution to the BS bearing removal.

")

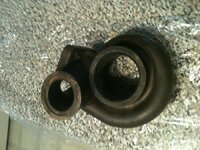
 In the end we shoved a beer bottle into the end of the rod with some shop towels for protection and that popped it off eventually. Layed the ACL bearings in there (without assembly lube behind them
  ) and coated the top side of the bearings with assembly lube.

")


 I didn't even know there was a thread or an intention to sale 5 copies of the kit. Needless to say, the only kit I would have bought, I missed my opportunity.