The Top DSM Community on the Web

For 1990-1999 Mitsubishi Eclipse, Eagle Talon, Plymouth Laser, and Galant VR-4 Owners. Log in to remove most ads.

Please Support Rix Racing
Please Support ExtremePSI

KG 807/1000

This site may earn a commission from merchant
affiliate links, including eBay, Amazon, and others.

This site may earn a commission from merchant affiliate links, including eBay, Amazon, and others.
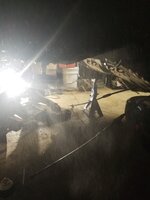
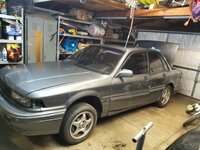
I think a little after 2 years I finally had space/time to pull in my KG GVR-4.

Well it's a shell and my plan is to do a Auto swap. A local is going auto to 5 speed so we are swapping rear ends. My 5 speed 4 bolt for his auto 3 bolt.

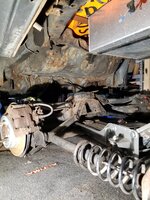
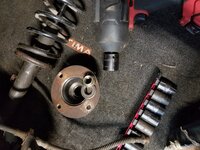
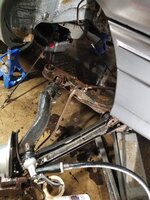
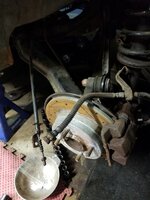
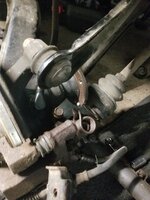
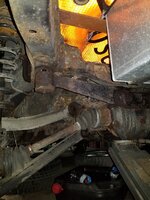
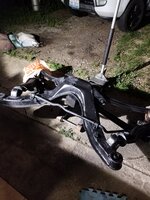
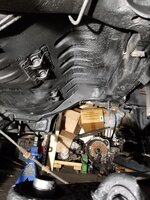
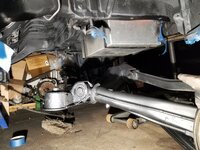
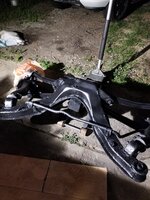
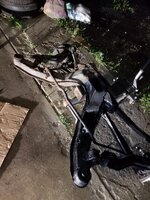
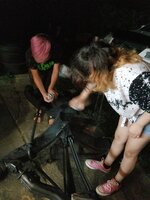
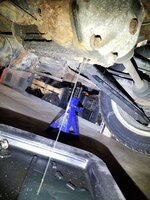
So my 1st priority was to drop the pumpkin. Just to kinda make it easier and get it out the way. After that, I started to drop the rear shocks, unbolt the parking brake and disconnect the brake line.... you know what's next? So I said fugit and dropped the rear subframe.

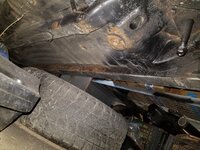
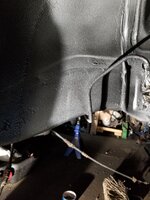
Next, I degreased the part of the rear with the subframe out the way and also gave the subframe a degreaser shower. . Used a brush and scotch pad to knock off dirt and grime. I'm not going over it with a fine comb, so I did the best I could in short time. Grabbed my water hose and showered the grime away. Wish I would of washed the whole car but I was already tired and was about to be 4 am.

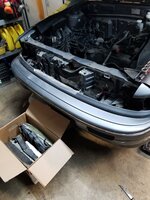
Before the night ended, I removed my head lights and corner light. I say corner light because I already donated one to my son's black VR-4
 

Attachments

  • 20200628_005909.jpg
    20200628_005909.jpg
    1.2 MB · Views: 118
  • 20200706_023110.jpg
    20200706_023110.jpg
    638.8 KB · Views: 120
  • 20200706_015425.jpg
    20200706_015425.jpg
    1 MB · Views: 123
  • 20200706_005035.jpg
    20200706_005035.jpg
    1.1 MB · Views: 120
  • 20200706_023946.jpg
    20200706_023946.jpg
    989.4 KB · Views: 113
  • 20200701_015512.jpg
    20200701_015512.jpg
    697.5 KB · Views: 121
  • 20200701_022221.jpg
    20200701_022221.jpg
    677 KB · Views: 116
  • 20200701_015529.jpg
    20200701_015529.jpg
    1 MB · Views: 120
  • 20200706_035937.jpg
    20200706_035937.jpg
    916.7 KB · Views: 116
  • 20200626_024320.jpg
    20200626_024320.jpg
    885.3 KB · Views: 118
Last edited:
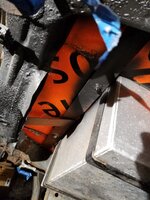
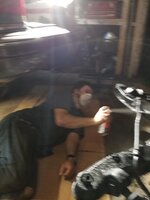
Next session Monday June 6, So it's a day later and stuff was dry and guess what... undercoating time .. I cannot go this far and not do anything.

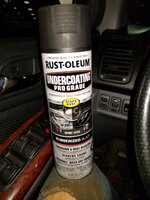
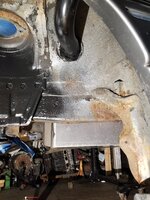
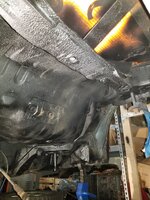
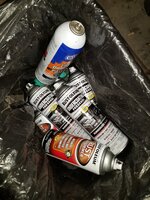
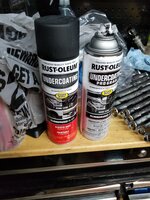
So I ordered what I thought was Rubberized undercoating from Menards. Turns out its a "Rust converter " so I went to Autozone and bought some Rustoleum undercoating with sound deadening! It's going to be a daily and yeah it "adds weight".

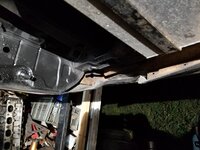
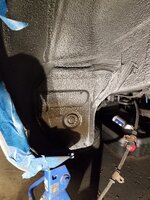
You can tell up to where I stopped, I used a total of 4 undercoating cans on just the rear end. I sure did put to use the Rust converter on the subframe. Looks wayyy better! Used 2 cans and I'll be doing another black paint and clear on the subframe. Hopefully the rust doesn't bleed thru!

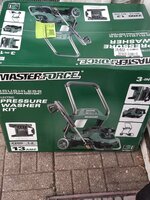
Bought what I think a decent electric corded power washer from Menards. I was going to pressure wash the subframe, but it was late and I'm trying to get this project moving. Stay tuned!
 

Attachments

  • 20200706_210530.jpg
    20200706_210530.jpg
    821.1 KB · Views: 109
  • 20200706_232543.jpg
    20200706_232543.jpg
    1.1 MB · Views: 113
  • 20200706_202048.jpg
    20200706_202048.jpg
    1.1 MB · Views: 120
  • 20200706_225929.jpg
    20200706_225929.jpg
    787 KB · Views: 120
  • 20200707_000741.jpg
    20200707_000741.jpg
    1.2 MB · Views: 117
  • 20200706_225619.jpg
    20200706_225619.jpg
    804.5 KB · Views: 110
  • 20200707_000735.jpg
    20200707_000735.jpg
    1.1 MB · Views: 112
  • 20200706_223336.jpg
    20200706_223336.jpg
    1.4 MB · Views: 115
  • 20200706_233033.jpg
    20200706_233033.jpg
    1.1 MB · Views: 119
  • 20200706_232839.jpg
    20200706_232839.jpg
    787.5 KB · Views: 120
  • 20200706_231018.jpg
    20200706_231018.jpg
    1.2 MB · Views: 118
  • 20200706_231000.jpg
    20200706_231000.jpg
    1.3 MB · Views: 125
  • 20200707_001038.jpg
    20200707_001038.jpg
    1 MB · Views: 122
  • 20200706_230315.jpg
    20200706_230315.jpg
    1 MB · Views: 121
  • 20200707_000948.jpg
    20200707_000948.jpg
    1.5 MB · Views: 120
  • 20200707_000811.jpg
    20200707_000811.jpg
    1.3 MB · Views: 118
Today I had a chance to power wash my auto rear end. Primed and painted some stuff with my painters. They are for hire by the way.

20200708_232541.jpg

I was going to give the rear underbody one last coat but I was out of the Pro grade and I came across some cans I had. Noticed the can was different and sure enough it was the stuff I had previously on the other galant. This stuff is more brown and too sticky for my liking. Below is the pic. You can the difference ..left brown spot vs all black Pro grade.

20200709_004128.jpg 20200708_225629.jpg

So tomorrow I'll return and pick up a different undercoating. I wanted to finish a clear coat can so I did the subframe. It turned out pretty dull so I'm going to redo that next time with the Rust Reformer can. It leaves it shiny and it's what I used for the rear end.

Not much else got done today.. I wi also be ordering BoostX's subframe bushings. Already got the moustache set.

.
 

Attachments

  • 20200709_000431.jpg
    20200709_000431.jpg
    721.1 KB · Views: 104
  • 20200709_000422.jpg
    20200709_000422.jpg
    1.3 MB · Views: 97
  • 20200708_232137.jpg
    20200708_232137.jpg
    804.7 KB · Views: 107
  • 20200709_000311.jpg
    20200709_000311.jpg
    736.4 KB · Views: 113
Well its been a slow couple of months as you can tell by the date on the pictures. Work has kept me busy and taking some personal time before the kids school started was really needed.

1st order of business on my pictures, I kinda tore down the auto shifter, cleand and painted what I could. Still have to mount it but at least I already removed the old 5 speed shifter and cables.
20200712_032939[1].jpg

I bought the gold paint for real cheap so don't think I'm a gold fanatic. Its a great color though and really pops! I painted my water pipe and rear diff cover.
20200714_032826[1].jpg
I started to burn out the subframe bushings. Took maybe 30 mins to do all of them. It was late at night so I didn't clean up the holes till a later day.
20200717_224213[1].jpg

I got a call from the shop that's doing my motor. The stroker crank I bought 10-11 years ago turned out to be a regular 6 bolt crank LOL!!!! Those MFers!! SOO0o I put up a WTB ad and took about a 5 hour trip from south burbs of Chicago to East St Louis. 20200721_143117[1].jpg


Beautiful place. Took the family with me and we kinda toured around. Couldn't do much and I was recommeded a Pizza place called Imo's... Unfortunately we were starving and a Dine-in these days don't exist :( SOO White Castle it was and then we toured downtown!
20200722_194234[1].jpg

So I had the hardest time installing the bushings in the subframe. The mustache was very simple but the subframe has a "ring" that I didn't remove and was very had to notice (or at least me) in Jafro's How to vid. So I watched it carefully and took a plunge and cut it out. WOW dumb me!! It went about 1/2 way and that was without using a wire wheel to really clean the bore up.

20200730_213034[1].jpg

Another set back was that I stripped the drain plug on the diff! it was covered in muck and it being late and even I think the impact socket doesn't sit right in the drain bore, I ended rounding it out!! I left it as is and came back a different day with a cool head.. I cut a slit and used a impact hammer with flat attachment and it slowly started to spin!!! I was soo glad cause I was not looking forward to drill it out. I have bad luck with drill and centering that stuff.
20200727_033152[1].jpg
After that, I had to steal a drain plug from another diff..Cleaned up the diff cover surfaces and I installed the gold cover and mounted the diff assembly. I used black RTV as a sealant so we'll find out someday if it leaks!
20200816_042906[1].jpg

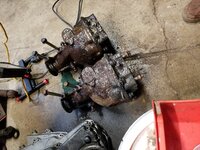
I dropped the crank off at the shop and picked up my head. This head was previously o-ringed and was ready to install the goodies. The block that I am using wasn't oringed and I kinda didn't want to deal with that stuff. Kinda looking back, I think I f***ed that up. BUT somewhere along the line I gouged the head and it needed a resurface anyways, so the oring grooves were welded up and then resurfaced... It's a +2 mm Exhaust and +2 mm Intake valves with a port and polish.. I added Kiggly Racing High Pressure valve springs to spice things up! I bought them back in 01/2017!!! SO def have been slacking on this build.


20200818_001449[1].jpg 20200818_001453[1].jpg 20200818_001500[1].jpg 20200818_001544[1].jpg

I work in shipping full time 4 days a week at Whole Foods and moved up to loading trucks since June/july so I'm newish.. We have a few trailers with middle doors and this one had a nail sticking out.. I clipped it and well, made a mess LOL!!! Hours are kinda long 11am till finish which usually is 10pm on forward. I've left work at 4:30am before!! You see why my build is going kinda slow
20200824_152930[1].jpg


Somewhere along the line I attempted to reinstall the subframe with one jack.. It was hard, especially with one person as well.. SOO I did something about it and bought some presents! I have the HF low pro long reach, while it's good, I need a different jack. This Daytona has a traditional spin handle, while the other one has a knob (had one, I broke it), its hard to accurately lower vehicles.
20200826_231105[1].jpg

Obsession LOL
20200808_092141[1].jpg
I broke out the power washer once more and went to town on the Auto Trans. Kinda taped the electrical, degreased it and gave it a quick Rustoleum Gloss black finish. I hope it holds up. As of right now, I do not plan on Daily'ing this gem in the salty roads!!!
20200830_181836[1].jpg

The A/C components were stripped so I was kinda searching for the setup.. Got a notification about a Galant GSX at the junk yard and hit it up.Not sure if the GGSX are 1.8 as well, or whatever the SOHC size is, but it turned out to be a 2.0!! SCORE!!!!!!! S0o0o I extracted the A/C stuff and some other goodies. Besides it being a old car, it was decent but the engine almost met its end, timing belt was being chewed up. IF you know Tony,This used to be his parts car as it said on the glass LOL
20200831_143941[1].jpg 20200831_142705[1].jpg

The Black GVR-4 is for my son when he gets his license in 2 years. He's a freshman in HS already! Well the damn thing has its own plathora of problems and one was it would die when the RPM's drop as you approach a stop. I thought it was because it has a Tial BOV and it's not recirculated. I bought the bottom half that is recirculable (spelling??) and started to swap them.. Well I found a pinched/torn o-ring.. Found a good deal on Amazon for the rings and knocked out this quick problem.. I warmed up the car and went around the block since its not registered and good news!! Problem went away.. It feels good to be in a boosted car once again. Even though its a 14b on wastegate pressure, it feels and sounds soooo good LOL

20200902_034356[1].jpg Link to the o-rings
https://www.amazon.com/gp/product/B07CK2V99K/ref=ppx_yo_dt_b_asin_title_o02_s00?ie=UTF8&psc=1

If you made it up to this point, thank you!

I'm caught up with all my pictures and had to use my laptop for all this typing. I have all my pictures on my phone and I wish we can upload several pics at once. I had a few paragraphs done awhile ago on my cell but my break at work was over. Next break I opened up chrome again on my cell and everything was gone!!

Stay healthy guys! PEACE
 
Support Vendors who Support the DSM Community
Boosted Fabrication ECM Tuning ExtremePSI Fuel Injector Clinic Innovation Products Jacks Transmissions JNZ Tuning Kiggly Racing Morrison Fabrications MyMitsubishiStore.com RixRacing RockAuto RTM Racing STM Tuned

Latest posts

Build Thread Updates

Vendor Updates

Latest Classifieds

Back
Top