- Thread starter
- #101
DSMnoobsause
10+ Year Contributor
- 601
- 4
- Jun 13, 2010
-
Aloha,
Oregon
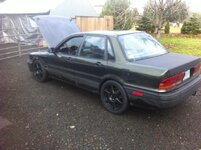
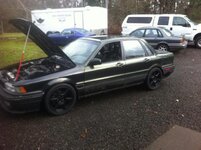
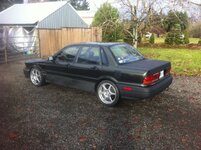
Wow great job so far.
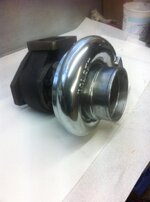
What kind of paint is that?
its a urethane base/clear from Omni
For 1990-1999 Mitsubishi Eclipse, Eagle Talon, Plymouth Laser, and Galant VR-4 Owners. Log in to remove most ads.

This site may earn a commission from merchant
affiliate links, including eBay, Amazon, and others.
This site may earn a commission from merchant affiliate links, including eBay, Amazon, and others.


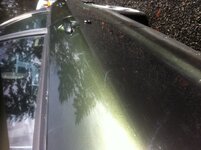
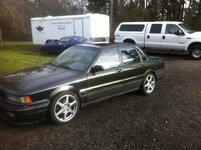
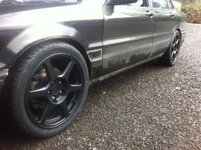
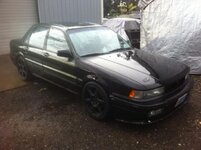
") its a 2000's Porsche and 97/98 3000gt color
its a 2000's Porsche and 97/98 3000gt color
")