mbyoung424
15+ Year Contributor
- 148
- 6
- Jul 19, 2007
-
Alexandria,
Virginia
Table of Contents.
1) The Back Story
2) Disappointment and an unexpectedly short first drive
3) Vehicles converge in VA
4) Christmas came late
5) Brakes come first
6) If a part comes off it's got to be painted
7) This bolt goes here, this bolt goes there, wait a second where’d the hub center bolt go
8) It's alive!
9) No you can’t buy my car for parts, well at least not this one.
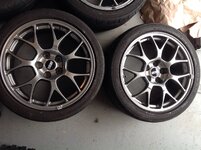
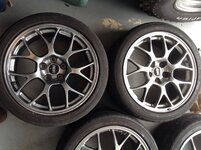
10) Papa got a new pair of shoes.
1) The Back Story
2) Disappointment and an unexpectedly short first drive
3) Vehicles converge in VA
4) Christmas came late
5) Brakes come first
6) If a part comes off it's got to be painted
7) This bolt goes here, this bolt goes there, wait a second where’d the hub center bolt go
8) It's alive!
9) No you can’t buy my car for parts, well at least not this one.
10) Papa got a new pair of shoes.
Last edited:


.jpg")


")